サイトをデプロイする
ここまでで作成したサイトをFirebaseにデプロイしWeb公開します。
デプロイするデータをビルドする
デプロイ用にサイトを実ファイルにビルドします。
- コマンドラインツール(Windowsであればコマンドプロンプト、Macであればターミナル)を開く。
- 本プロジェクトのルートフォルダに移動する。
yarn buildを実行し、プロジェクトファイルをビルドします。
$ yarn build

yarn run v1.15.2
$ vuepress build

 WAIT  Extracting site metadata...
[4:42:27 PM] Compiling Client
[4:42:27 PM] Compiling Server
[4:42:34 PM] Compiled Server in 6s
[4:42:40 PM] Compiled Client in 13s
 WAIT  Rendering static HTML...

 DONE  Success! Generated static files in .vuepress/dist.

✨  Done in 16.10s.
1
2
3
4
5
6
7
8
9
10
11
12
13
14
15
2
3
4
5
6
7
8
9
10
11
12
13
14
15
.vupress/distフォルダが作成され、ビルド済みのデータが格納されます。
Firebaseへログインする
デプロイ先のFirebaseにログインします。
- コマンドラインツール(Windowsであればコマンドプロンプト、Macであればターミナル)を開く。
firebase loginを実行して、firebaseにログインする。
$ firebase login
1
- Firebaseから情報収拾の可否を聞かれたら
Yかnを入力する。
? Allow Firebase to collect anonymous CLI usage and error reporting information? Yes

Visit this URL on any device to log in:
1
2
3
2
3
- googleアカウント認証ページで任意のgooleアカウントを選択し、アクセスを許可する。
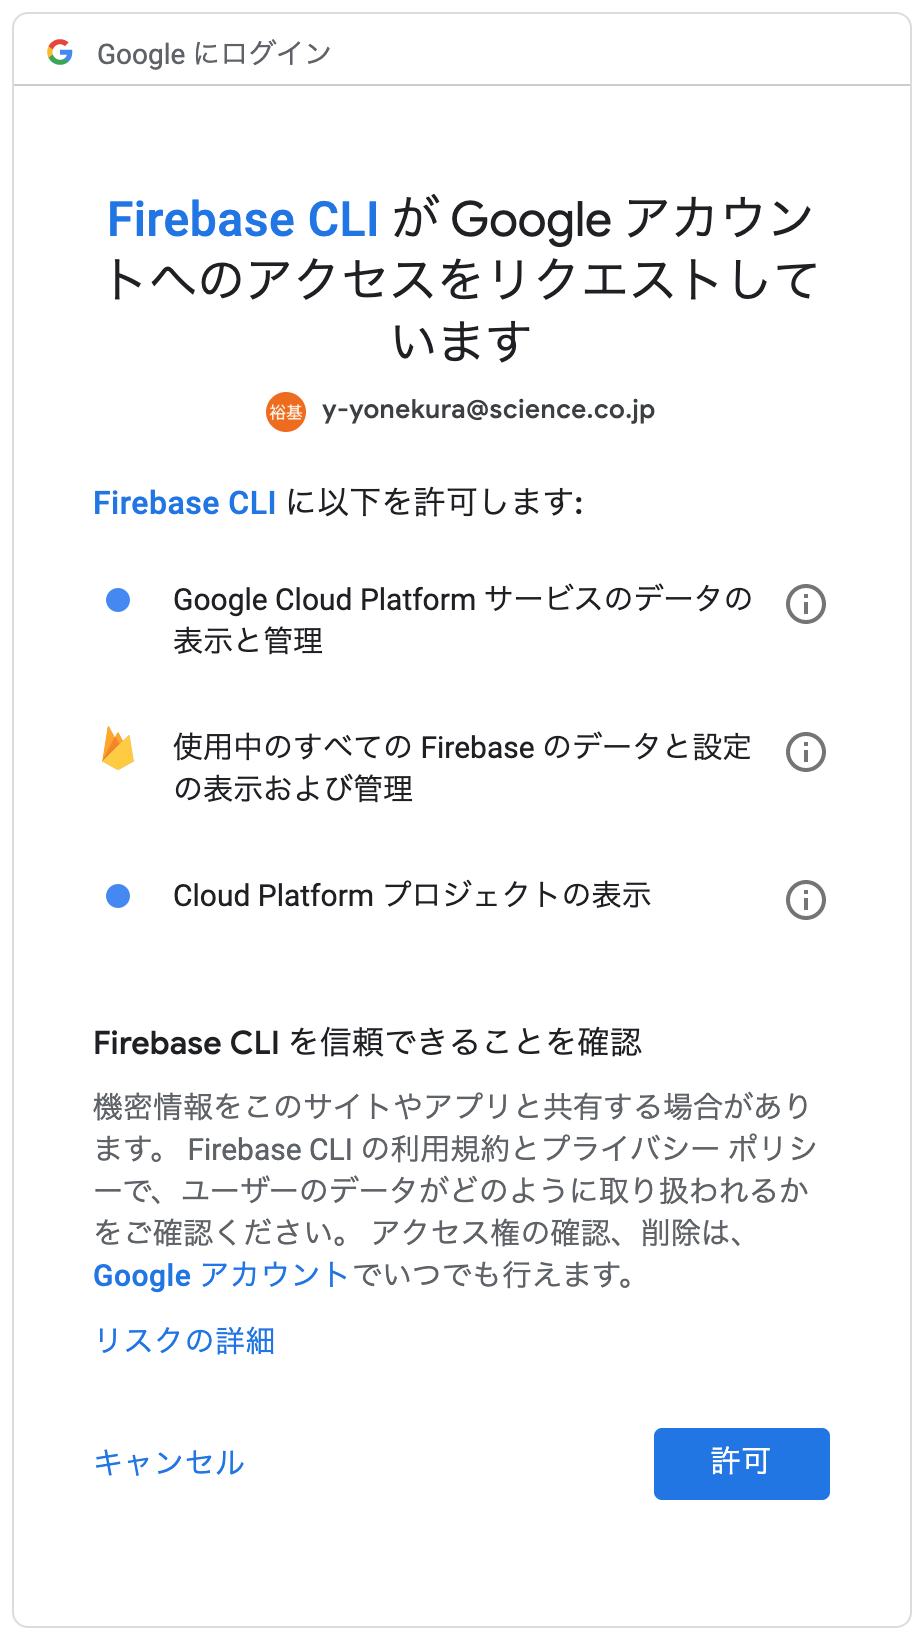
ヒント
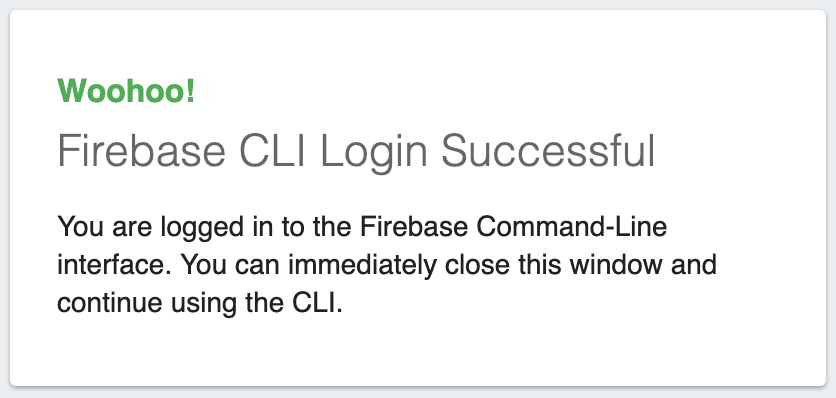
ログインに成功すると下記の画面が表示されます。
- Webブラウザ:
- コマンドライン:
✔ Success! Logged in as <your-email-address>
1
Firebaseプロジェクトを開始する
Firebaseのプロジェクトを開始します。
- コマンドラインツール(Windowsであればコマンドプロンプト、Macであればターミナル)を開く。
- 本プロジェクトのルートフォルダに移動する。
- firebaseプロジェクトを初期化する。
# firebaseプロジェクトを初期化します。
$ firebase init

     ######## #### ########  ######## ########     ###     ######  ########
     ##        ##  ##     ## ##       ##     ##  ##   ##  ##       ##
     ######    ##  ########  ######   ########  #########  ######  ######
     ##        ##  ##    ##  ##       ##     ## ##     ##       ## ##
     ##       #### ##     ## ######## ########  ##     ##  ######  ########

You're about to initialize a Firebase project in this directory:
1
2
3
4
5
6
7
8
9
10
2
3
4
5
6
7
8
9
10
- サービスメニューから
Hostingを選択します。
? Which Firebase CLI features do you want to set up for this folder? Press Space to
 select features, then Enter to confirm your choices.
 ◯ Database: Deploy Firebase Realtime Database Rules
 ◯ Firestore: Deploy rules and create indexes for Firestore
 ◯ Functions: Configure and deploy Cloud Functions
❯◉ Hosting: Configure and deploy Firebase Hosting sites
 ◯ Storage: Deploy Cloud Storage security rules
1
2
3
4
5
6
7
2
3
4
5
6
7
ヒント
- 選択は▲/▼キーでメニューを選んでからスペースキーをクリックします。
- 決定はEnterキーをクリックします。
- mBaaSとしてFirebaseはWebサイトのホスティング以外にも、サーバーレスと呼ばれる構成を実現する多くの機能を提供しています。本手順では最小限の利用として
Hostingのみを選択しています。
[create a new project]を選択する。
? Select a default Firebase project for this directory:
❯ [create a new project]
  [don't setup a default project]
1
2
3
2
3
- 公開用のフォルダを
.vuepress/distと入力する。
? What do you want to use as your public directory? (public) .vuepress/dist
1
- 上書き可否を聞かれたら全て
Nを入力する。
? Configure as a single-page app (rewrite all urls to /index.html)? No
? File .vuepress/dist/404.html already exists. Overwrite? No
i  Skipping write of .vuepress/dist/404.html
? File .vuepress/dist/index.html already exists. Overwrite? No
i  Skipping write of .vuepress/dist/index.html

i  Writing configuration info to firebase.json...
i  Writing project information to .firebaserc...

✔  Firebase initialization complete!

Project creation is only available from the Firebase Console
Please visit https://console.firebase.google.com to create a new project, then run firebase use --add
1
2
3
4
5
6
7
8
9
10
11
12
13
2
3
4
5
6
7
8
9
10
11
12
13
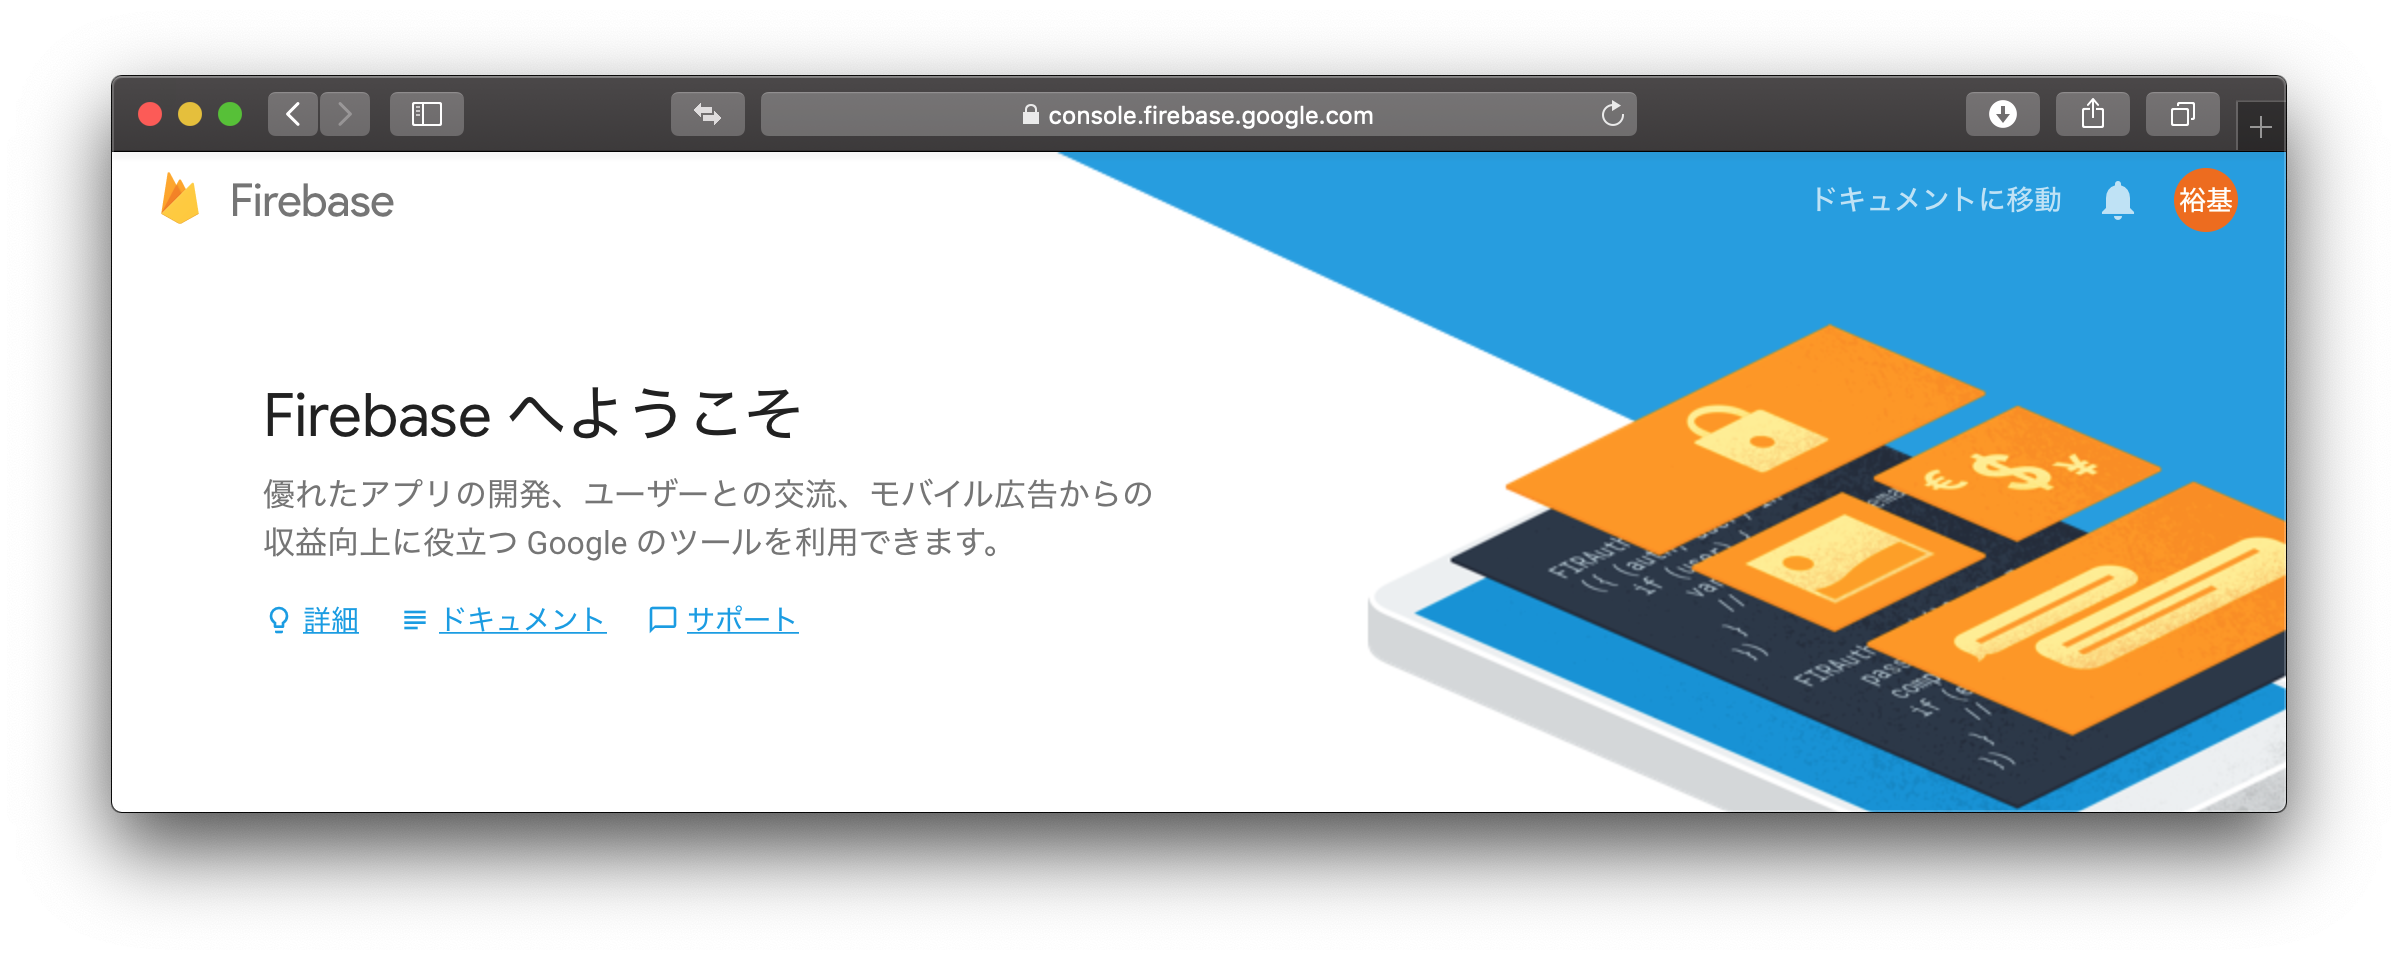
- Firebase console(https://console.firebase.google.com)をブラウザで表示して、Googleアカウントでログインする。
- プロジェクトを追加をクリックする。
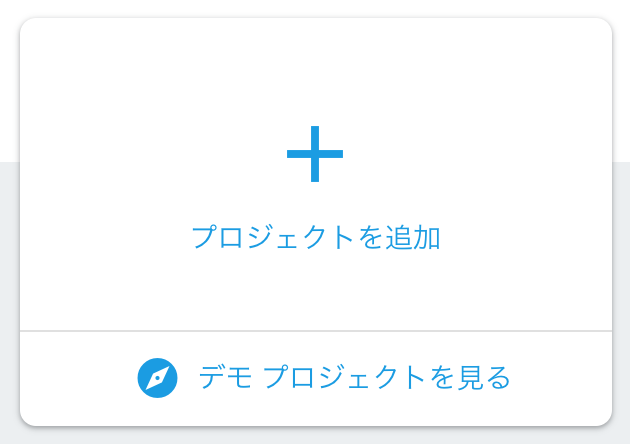
- 任意のプロジェクト名を入力し、測定管理者間のデータ保護条項にチェックを入れて、プロジェクトを作成するをクリックする。
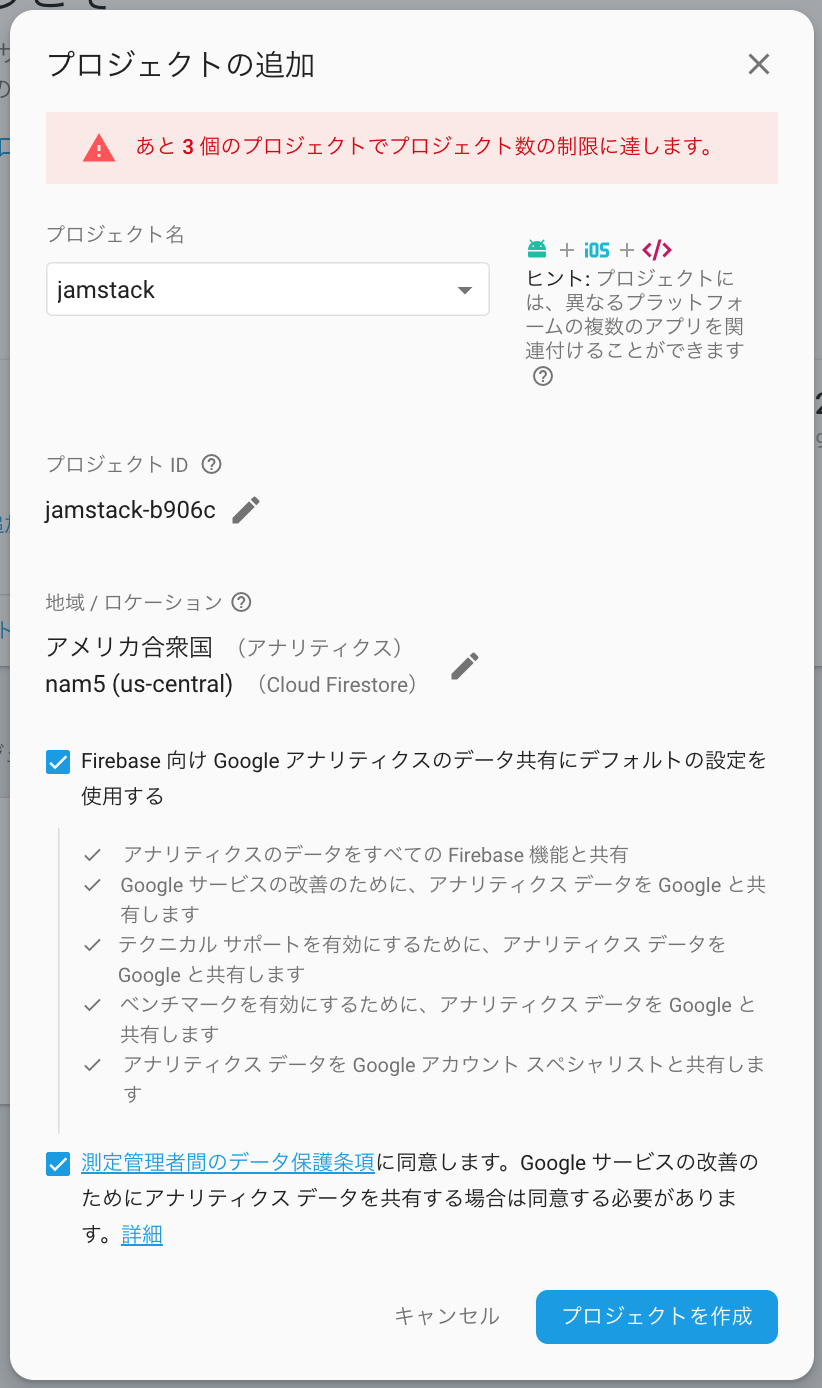
ヒント
上記の画面で表示されるプロジェクトIDは、下記の手順で必要になります。
- プロジェクト準備完了の画面が表示されたら、次へをクリックします。

Firebaseにデプロイする
ビルドしたファイルをFirebaseにデプロイします。
- コマンドラインツール(Windowsであればコマンドプロンプト、Macであればターミナル)を開く。
firebase use --addを実行し、使用するFirebaseプロジェクトを選択する。
$ firebase use --add

? Which project do you want to add?
❯ jamstack-xxxx
1
2
3
4
2
3
4
ヒント
Firebaseプロジェクトを開始するの手順10のプロジェクトIDを選択してください。
- aliasを聞かれたら、任意のエイリアスを設定する。
? What alias do you want to use for this project? (e.g. staging) hosting

Created alias hosting for jamstack-xxxx.
Now using alias hosting (jamstack-xxxx)
1
2
3
4
2
3
4
firebase deployを実行し、Firebaseにデータをデプロイする。
$ firebase deploy

=== Deploying to 'jamstack-xxxx'...

i  deploying hosting
i  hosting[jamstack-xxxx]: beginning deploy...
i  hosting[jamstack-xxxx]: found 2 files in .vuepress/dist
✔  hosting[jamstack-xxxx]: file upload complete
i  hosting[jamstack-xxxx]: finalizing version...
✔  hosting[jamstack-xxxx]: version finalized
i  hosting[jamstack-xxxx]: releasing new version...
✔  hosting[jamstack-xxxx]: release complete

✔  Deploy complete!

Project Console: https://console.firebase.google.com/project/jamstack-xxxx/overview
Hosting URL: https://jamstack-xxxx.firebaseapp.com
1
2
3
4
5
6
7
8
9
10
11
12
13
14
15
16
17
2
3
4
5
6
7
8
9
10
11
12
13
14
15
16
17
- Hosting URL: の右側に表示されたURLをブラウザで表示する。
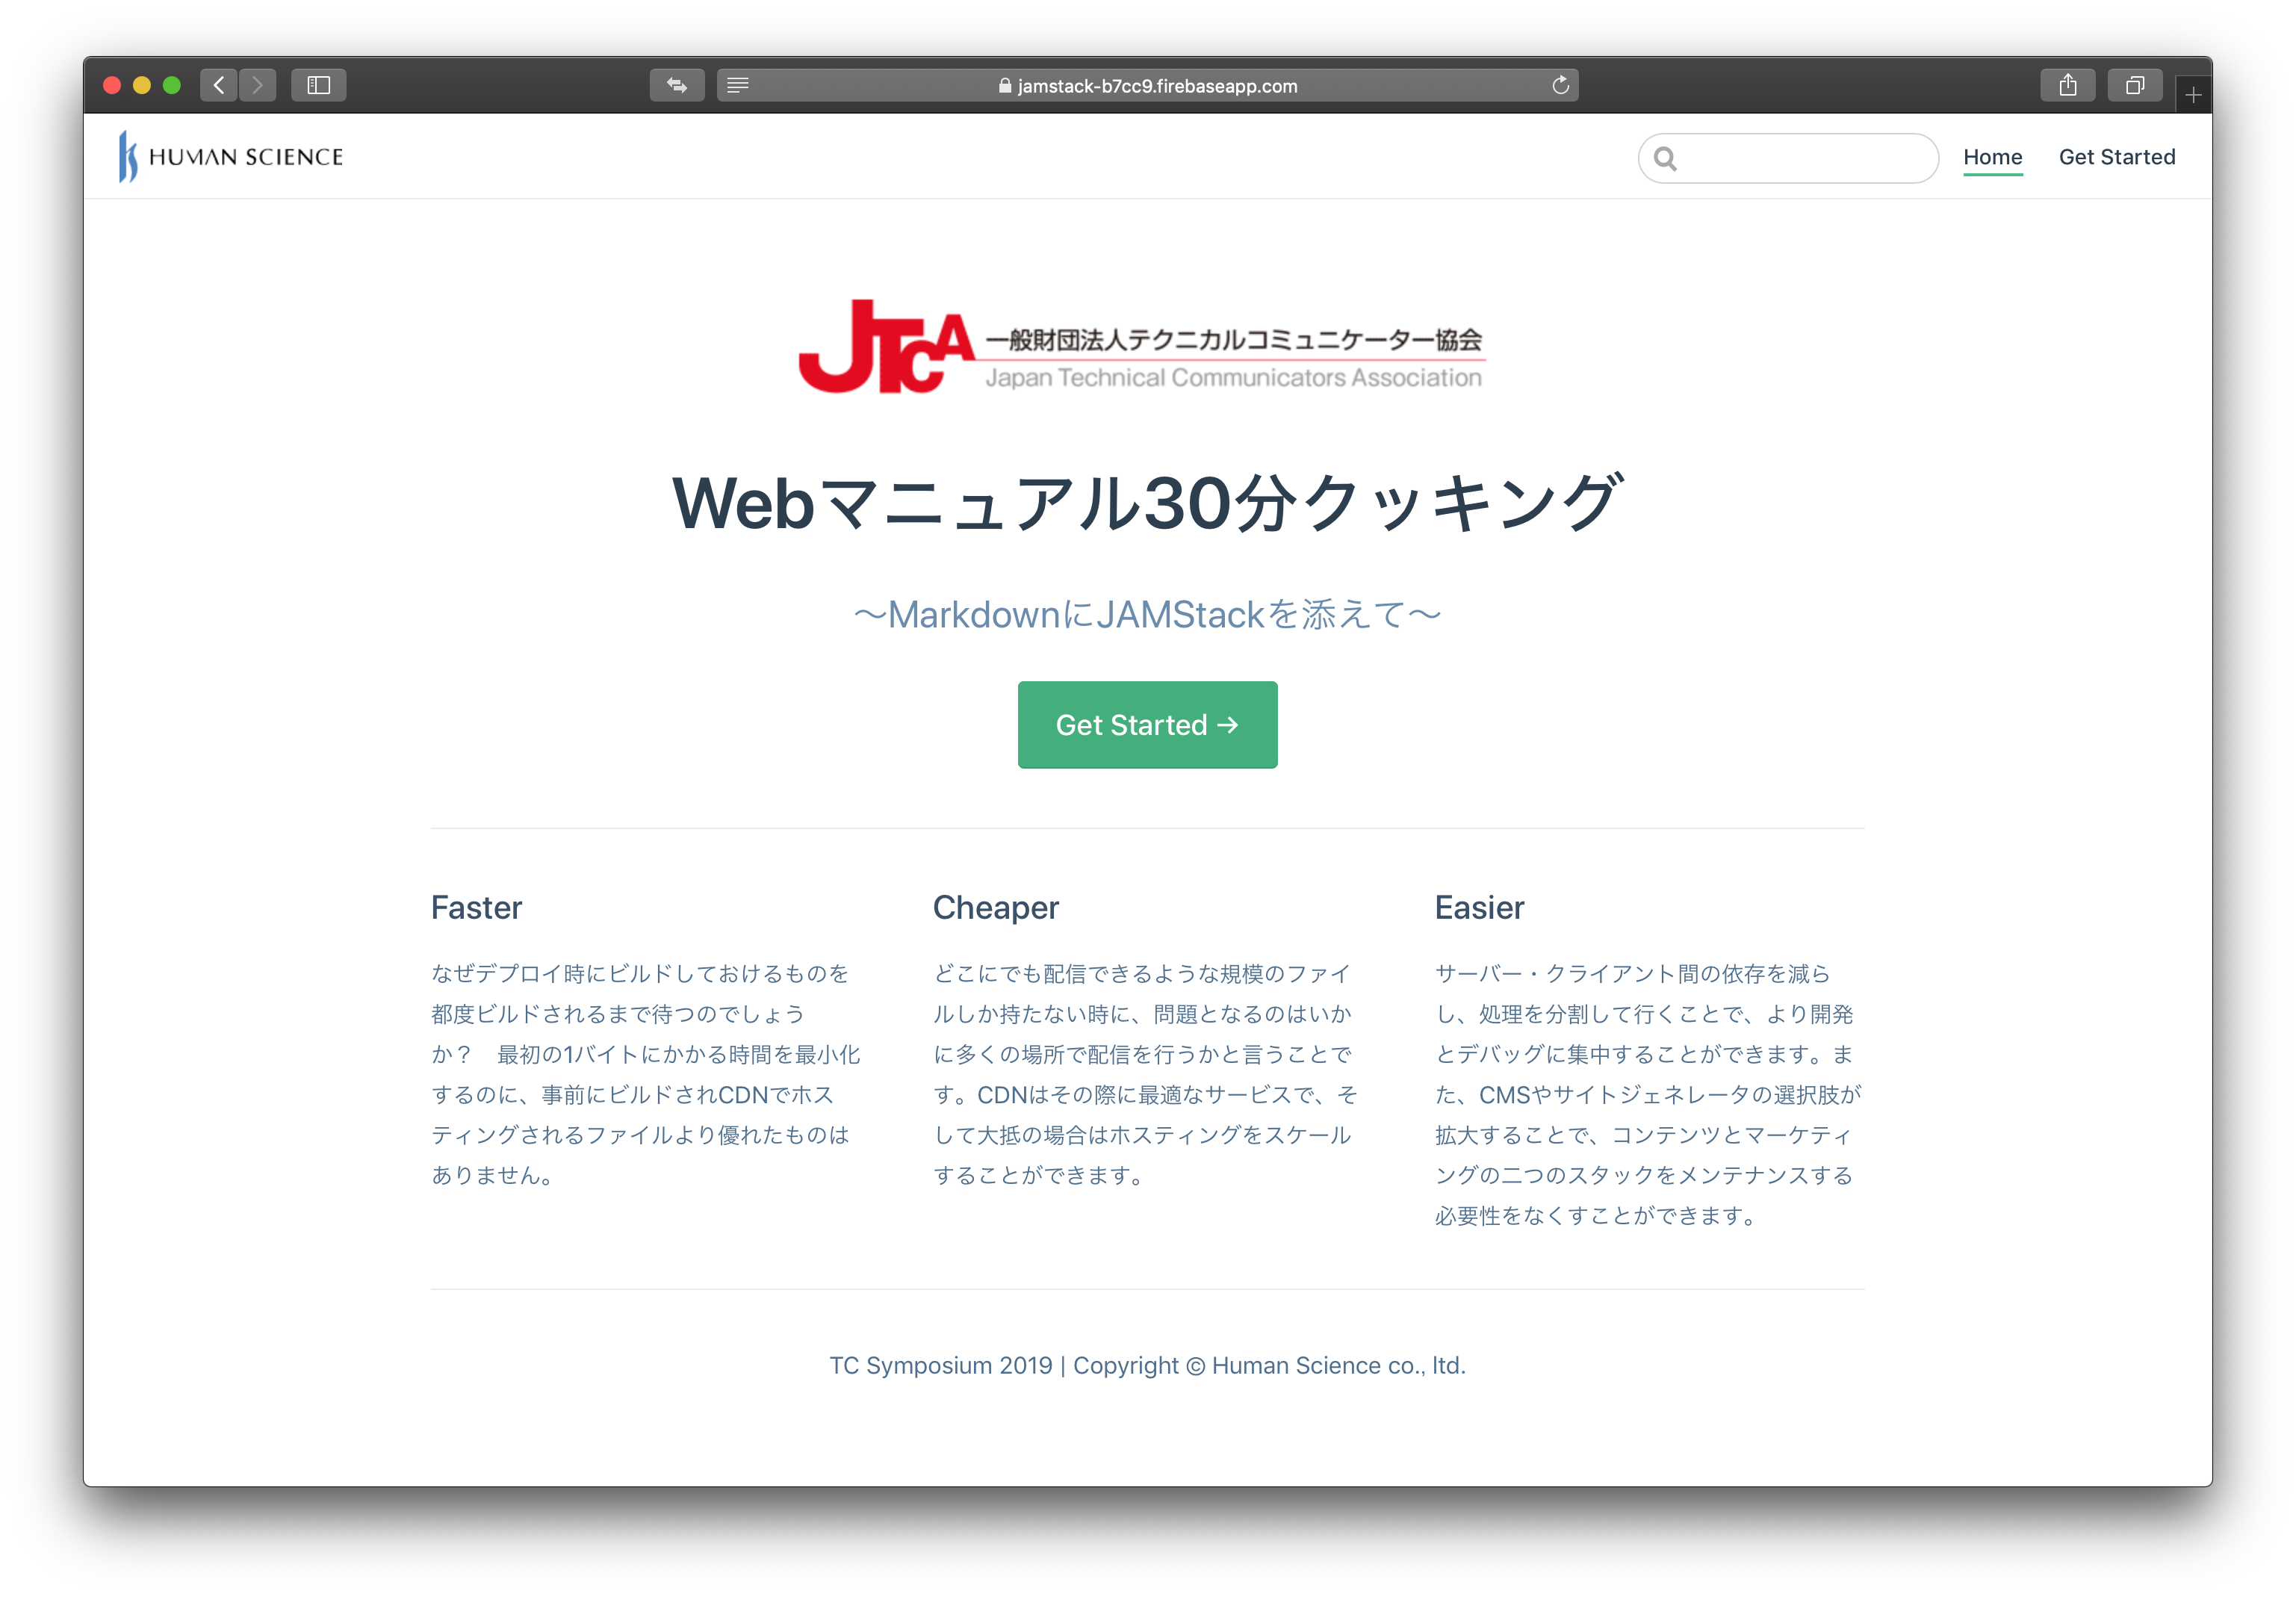
無事にWeb公開されたことが確認できます。